Imagine you got a task to execute several commands or maybe a bunch of steps to configure something in your servers. For example; updating your Ubuntu, then add some HTML page, then install Nginx, then change its config, and then restart the Nginx service. It’ll be okay if only have one or two servers. But what if you have ten servers? even maybe 15? 20? Trust me, it will hurt your back if you handle it one by one manually. That also gives a probability of human error while executing it. At this point, Ansible will become a solution for you.
Ansible is an IT automation tool. It can configure systems, deploy software, and orchestrate more advanced IT tasks such as continuous deployments
Before continue, we’ll need to know several terms like:
- Inventory
- Playbooks
- Tasks
- Modules
Inventory
It contains a bunch of managed nodes. Like a hostfile containing several pieces of information like IP Address, port, etc for each node. There also can make groups to easier manage those nodes.
Playbooks
Written in YAML containing a set of ordered lists of tasks will be executed repeatedly on each node.
Tasks
A subset of playbooks to executing commands.
Modules
A subset of Tasks to interact directly on remote hosts or through Playbooks. It’s also called “task plugins” or “library plugins” or “module library”
Prerequisite for demo
- Docker
- Python (with pip installed)
Installation
|
|
Ensure the Ansible was installed
|
|
I’m gonna using Docker to spin up my dummy servers. You can use others like VirtualBox, EC2 on AWS, Droplet on DigitalOcean, or something else. Ansible is agentless. Which means you can use it directly without installing an agent in each nodes. Make sure your servers are ready to be remoted via SSH.
Let’s create a custom Docker Image, by default Ubuntu Image wasn’t support SSH by asking for the password.
Build the image
|
|
We’ll use this python script to create or destroy our servers
|
|
|
|
We mapping the local port to the container port. 500x as 22 (SSH) and 600x as 80 (HTTP).
And then we’ll create Nginx config to serve an HTML file later.
|
|
Next, we’ll create a playbook.yml as the Playbook. Containing an ordered task that will be executed in each node.
- Create an HTML file using shell script.
- Install Nginx using apt module and update the cache as well.
- Copy nginx-conf file to replacing Nginx default config.
- Restart the Nginx service to reload the new configuration.
|
|
OK, we finished creating all files needed, and now let’s try to execute them!
Run this command to spin up all servers
|
|
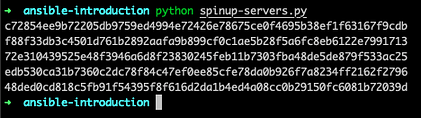 After finished, it will generate an “inventory” file that containing lists of nodes that run on the docker container.
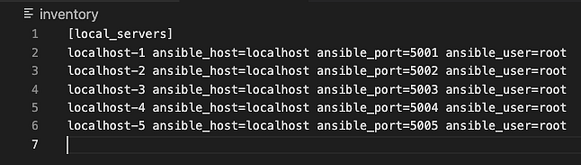 You can write that file manually as well. We using a python script just to make this demo easier.
The “localhost-1” is the name of host. Value from ansible_host is the host or IP address. ansible_port is SSH port. ansible_user is the user that has access to the node.
Now, run the playbook
|
|
- -l used to specify which group server in inventory will be executed.
- -i used to specify the inventory file.
- The main args are the playbook file name.
- –ask-pass is used to tell ansible to asks the SSH password.
In case you got an error like this
to use the ‘ssh’ connection type with passwords, you must install the sshpass program
You should install sshpass depending on your OS.
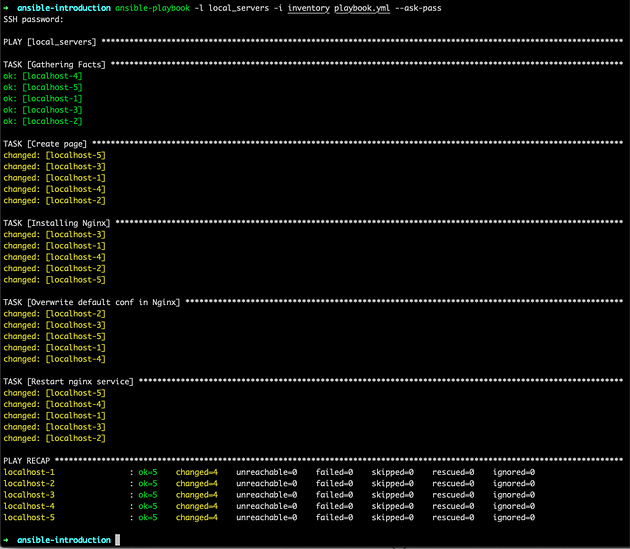 As you can see, all nodes have finished running the commands that we specify in the playbook!
To verify that, we can try to do cURL to some nodes to get the result of web page as we have specified before.
 Yeah! All nodes are returning the result as we expected.
To destroy our servers, you can execute destroy-servers.py
|
|
Final Notes
This is the only introduction to Ansible. There are so many features to make your life as DevOps easier. You can check out the official documentation at https://docs.ansible.com/ansible/latest/index.html